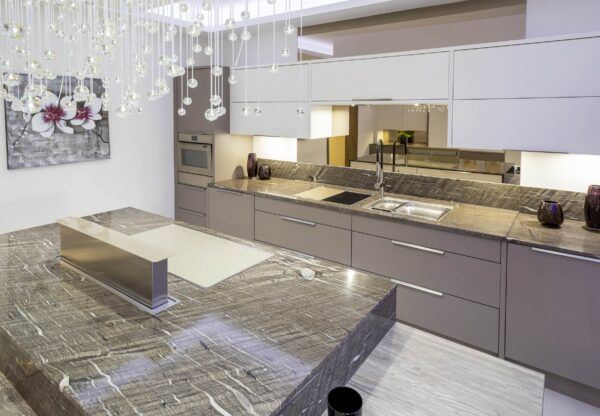
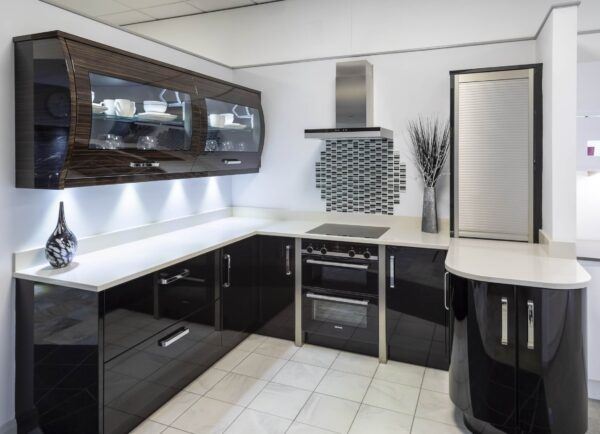
A fully fitted kitchen process by your trusted Cavendish team
At Cavendish Kitchens, we understand that a new kitchen is more than just a renovation—it’s a transformation of your home.
Our expert team works with you from start to finish, ensuring your kitchen is not only visually stunning but also practical and durable. From initial design consultations to after-sales support, we’re here to make the process seamless and stress-free.
A tried-and-tested process for bespoke luxury kitchens every time
1
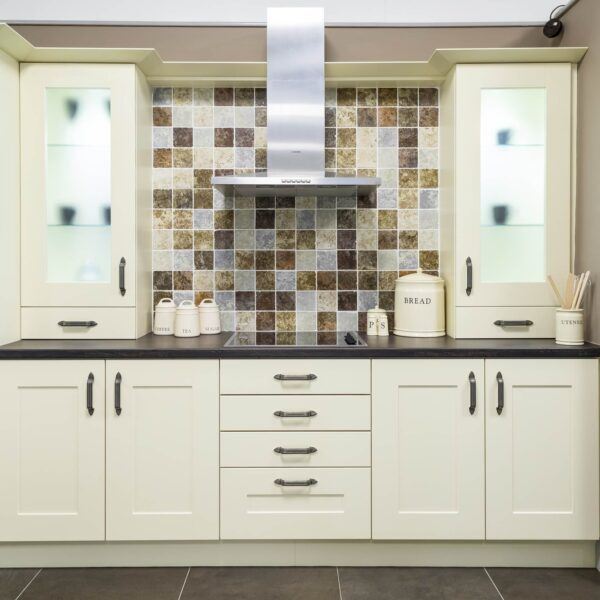
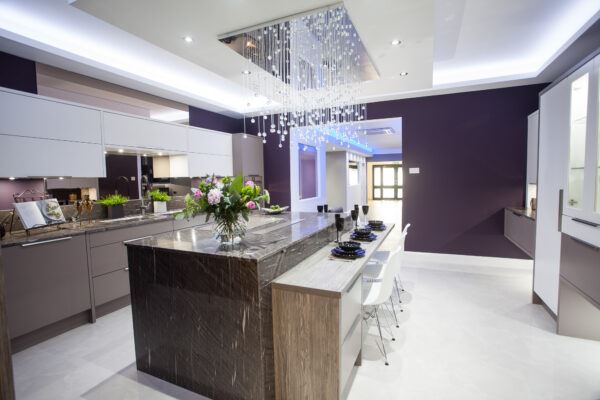
Showroom Visit
Your journey starts with a visit to one of our three showrooms in the North East. Here, you can explore a variety of kitchen styles and designs. This is your opportunity to gather ideas, discover what’s possible, and speak with one of our knowledgeable designers about your vision.
2
Design Consultation
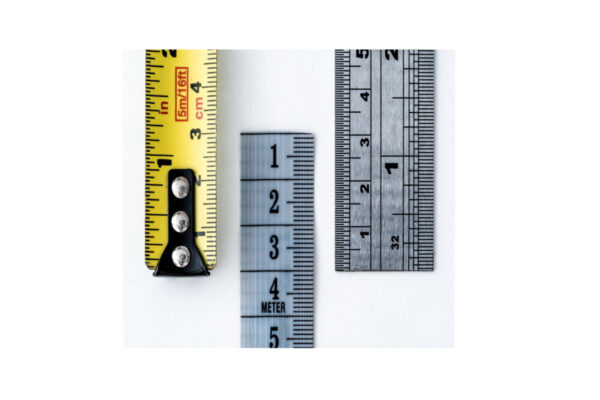
Next, one of our experienced designers will visit your home to take detailed measurements of your space. This is your chance to share your wish list, ideas, and requirements, helping us tailor your kitchen to meet your unique needs. Our designers in Newcastle work closely with you to ensure your new kitchen reflects your personal style.

3
Design Presentation
Once your design is ready, we’ll invite you back to our showroom to view your bespoke kitchen layout using our state-of-the-art CAD walk-through system. This lets you visualise exactly how your new kitchen will look in your home, and we’ll make any adjustments needed to perfect the design.
4
Pre-Installation Survey
Before installation begins, we’ll carry out a thorough on-site survey to confirm all measurements and specifications. This ensures every detail is correct, helping the installation process to go as smoothly as possible and reducing the risk of any unexpected issues.
5
Installation
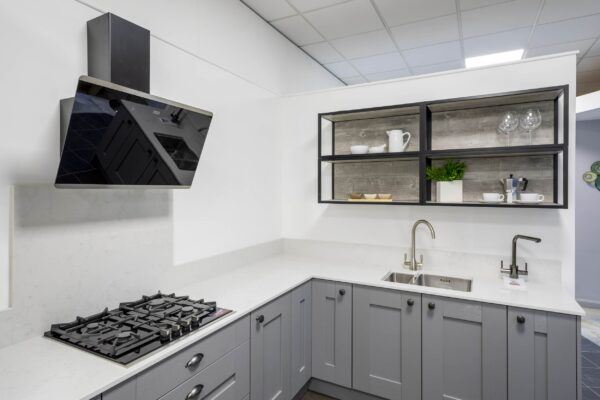
This is where your design comes to life! Watching our long-standing Cavendish fitters at work, you get to see first-hand Cavendish’s quality and style as it takes shape.
6
Dedicated After-sales Care
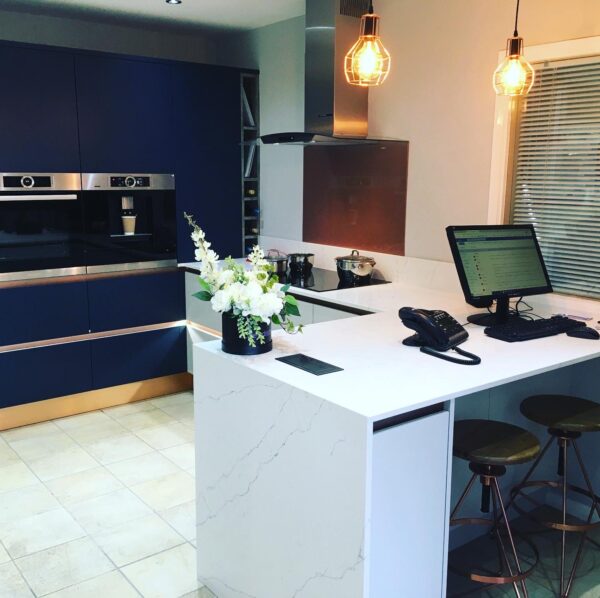
At Cavendish, we pride ourselves on the service we deliver after the project is complete. If there are any issues, we will solve them; we are always there to help!
Supply Only Kitchens
The perfect luxury kitchen, fully supply-only.
Why choose Cavendish Kitchens?
Quality furniture for a luxury feel
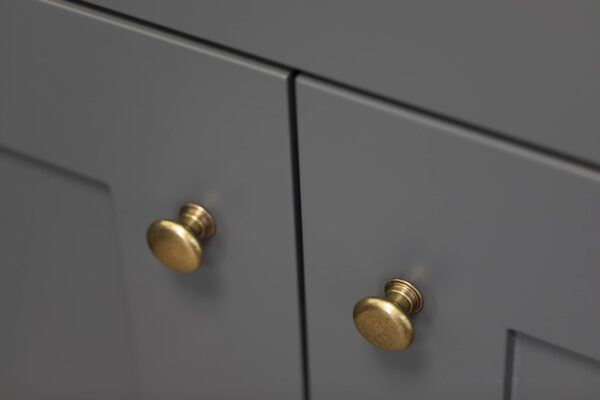
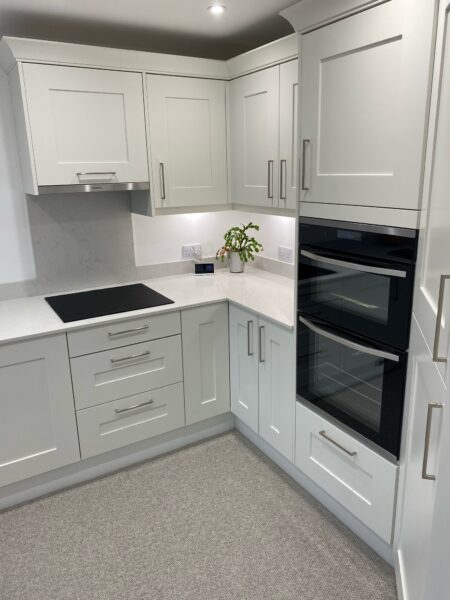
Our furniture is crafted with care right here in Ashington. By manufacturing in-house, we maintain strict quality control and can offer custom cabinets that reflect your unique style.
Personalised service, every time
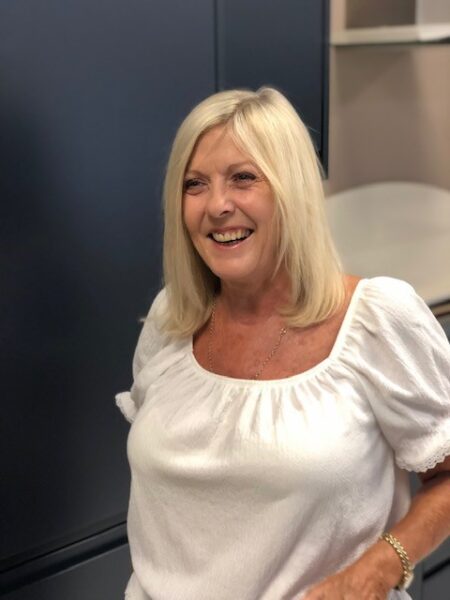
Your satisfaction is our top priority. From initial design to final installation, we’re here for you every step of the way. Our dedicated team is always ready to address any questions or concerns, ensuring your project runs smoothly.
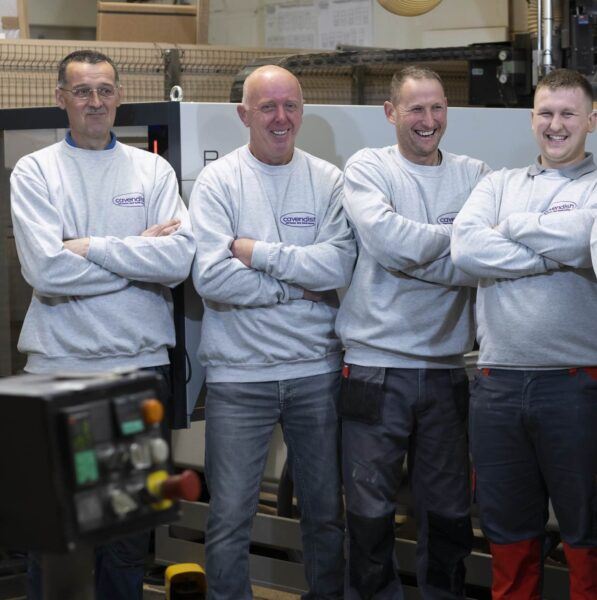
Dependability you can count on
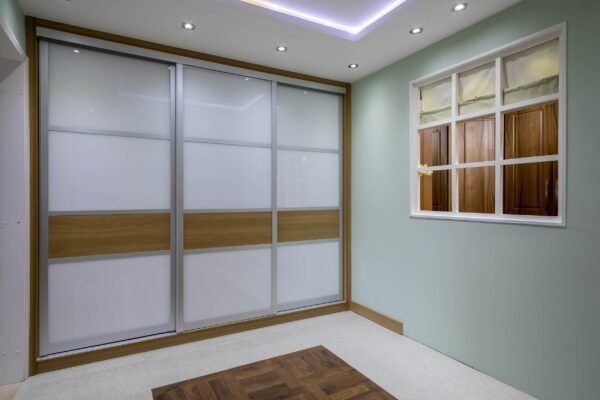
When you choose us, you can trust that we’ll deliver on our promises and provide you with a kitchen or bedroom that you’ll love for years to come.
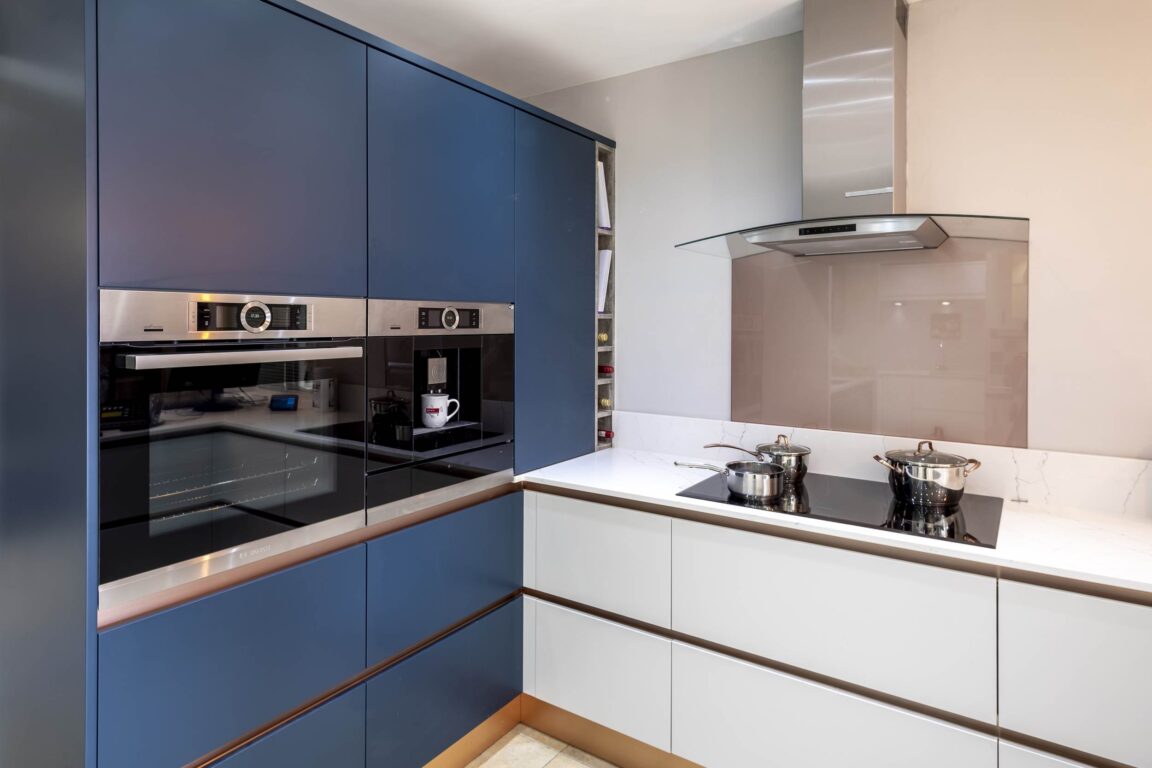
What to Expect During Installation
Our kitchen fitting process is designed to be smooth, efficient, and hassle-free. From the moment your kitchen design is finalised to the last finishing touches, our customer service team will be with you every step of the way. Here’s what you can expect:
- Pre-Installation Planning: We coordinate everything in advance to ensure a smooth installation, including preparing your space and finalising orders.
- Removal of the old kitchen: Our team can carefully remove your old kitchen, ensuring minimal disruption.
- Fitting: We install your kitchen with care, ensuring all elements are aligned and functional.
- Finishing Touches: From adjusting cabinet doors to installing lighting, we’ll ensure that every detail is perfect.
- Final Inspection: Our fitters will conduct a final inspection to make sure that your new kitchen meets our high standards.
Fitting luxury kitchens throughout the North East community
We here at Cavendish Kitchens are proud to serve Newcastle, Northumberland, and the wider area through our three showrooms. By choosing a kitchen company like Cavendish, you can take advantage of a wide range of benefits, including:
Faster Response Times: We’re based nearby, allowing us to respond quickly to any issues or concerns.
Unparalleled availability: With three showrooms across Newcastle and Northumberland, our team of experts can help you uncover your dream kitchen, before putting our designs into your home
Personalised Service: We offer a bespoke service tailored to each customer’s needs.
Ready to plan your dream kitchen?
Whether you need a fully fitted kitchen or a supply-only service, our team of expert kitchen Design Consultants in Newcastle and Northumberland are here to help. Get in touch today to start planning your new kitchen!
